Twitter Data Pipeline using Airflow | Data Engineering Project
ETL Pipleline
Prerequisites
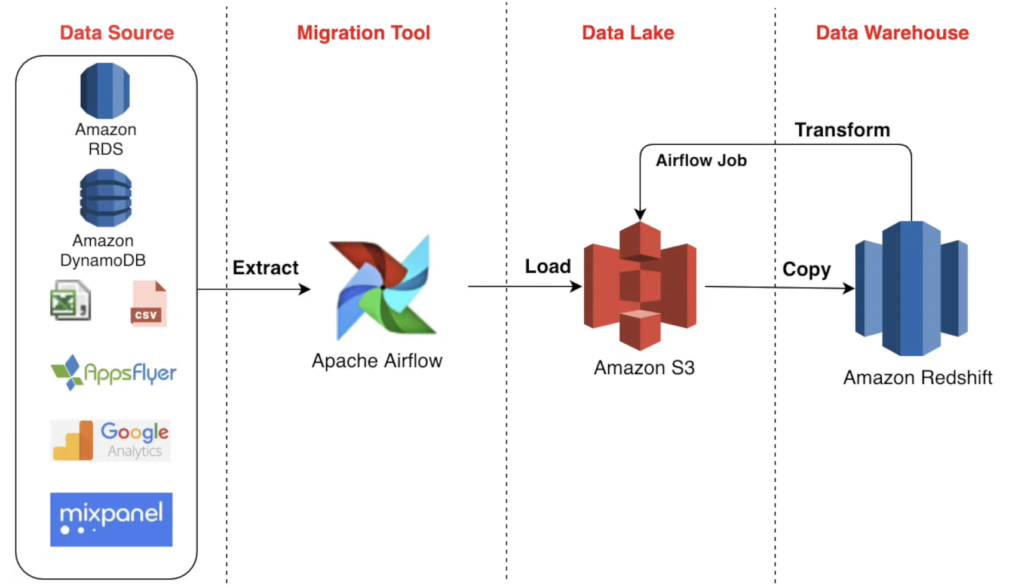
This is an End-To-End Data Engineering Project using Airflow and Python. In this project, I extracted data using the Twitter API, performed the processing in Python to transform data, deployed the code on Airflow/EC2 and the final results are loaded onto Amazon S3 incrementally using an Airflow DAG using my Python Code.
Toolkit:
Python
Tweepy (Twitter Python API)
Pandas Library
Apache Airflow
Amazon S3
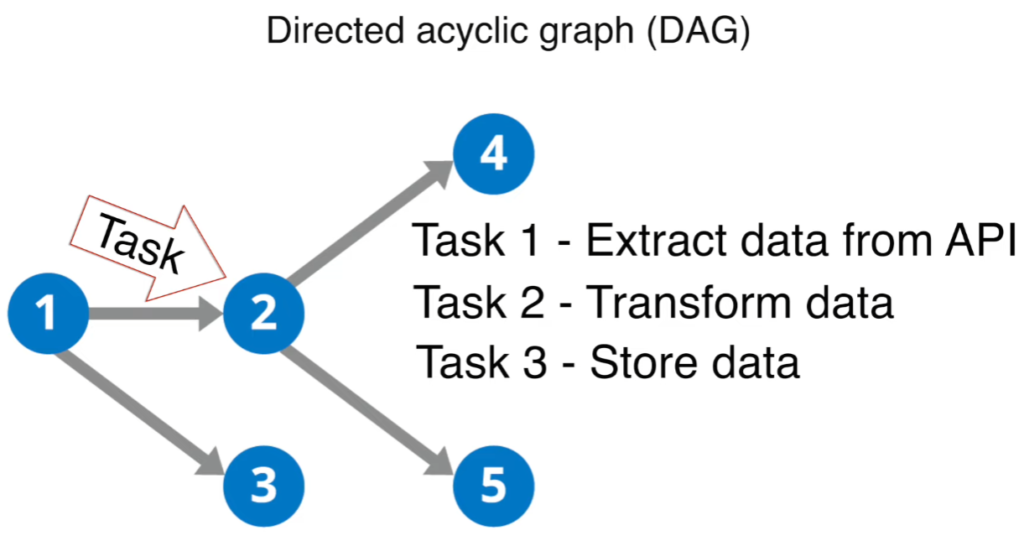
Airflow is a workflow orchestration tool to build, scale and monitor data pipelines. Workflows are defined as Directed Acyclic Graphs (DAGs) where each node is a task of unique operations to perform.
Project Overview
ExtractTransform Load
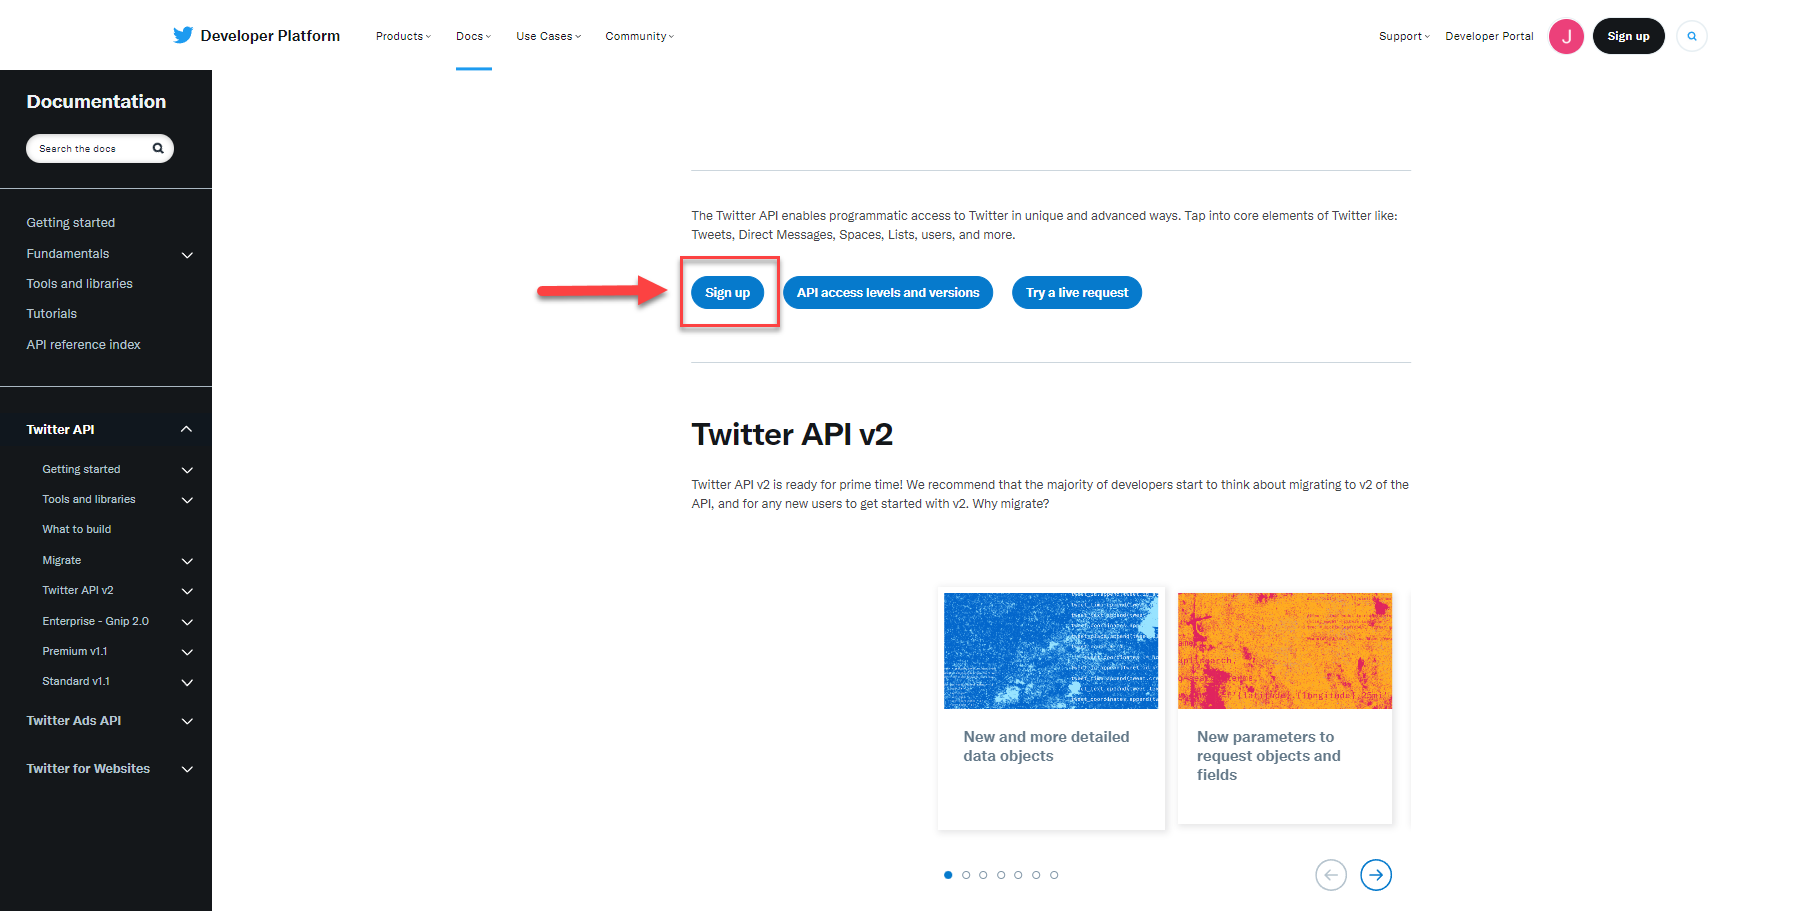
Access to the twitter API can be found at: https://developer.twitter.com/en/docs/twitter-api
Data was extracted via the twitter API in Python. The code can be found on my github repository.
					import tweepy
import pandas as pd
import json
from datetime import datetime
import s3fs

access_key = "twitter_api_access_key_here"
access_secret = "twitter_api_secret_key_here"
consumer_key = ""
consumer_secret = ""

# Twitter authentication
auth = tweepy.OAuthHandler(access_key, access_secret)

auth.set_access_token(consumer_key, consumer_secret)

# Creating API object

api = tweepy.API(auth)

tweets = api.user_timeline(
screen_name='@elonmusk',
# 200 is the maximum allowed count
count=200,
include_rts = False,
# Necessary to keep full_text
# Otherwise only the first 140 words extracted
tweet_mode = 'extended'
)

list = []
for tweet in tweets:
        text = tweet._json["full_text"]

        refined_tweet = {"user": tweet.user.screen_name,
                        'text' : text,
                        'favorite_count' : tweet.favorite_count,
                        'retweet_count' : tweet.retweet_count,
                        'created_at' : tweet.created_at}
        list.append(refined_tweet)

df = pd.DataFrame(list)
df.to_csv('refined_tweets.csv')
Testing the code:
Connect to Twitter API
Extract tweets from @ElonMusk with a limit of 200 tweets
Store tweets in a List Array in JSON format
Store the Array in a Pandas Data Frame
Export list to CSV
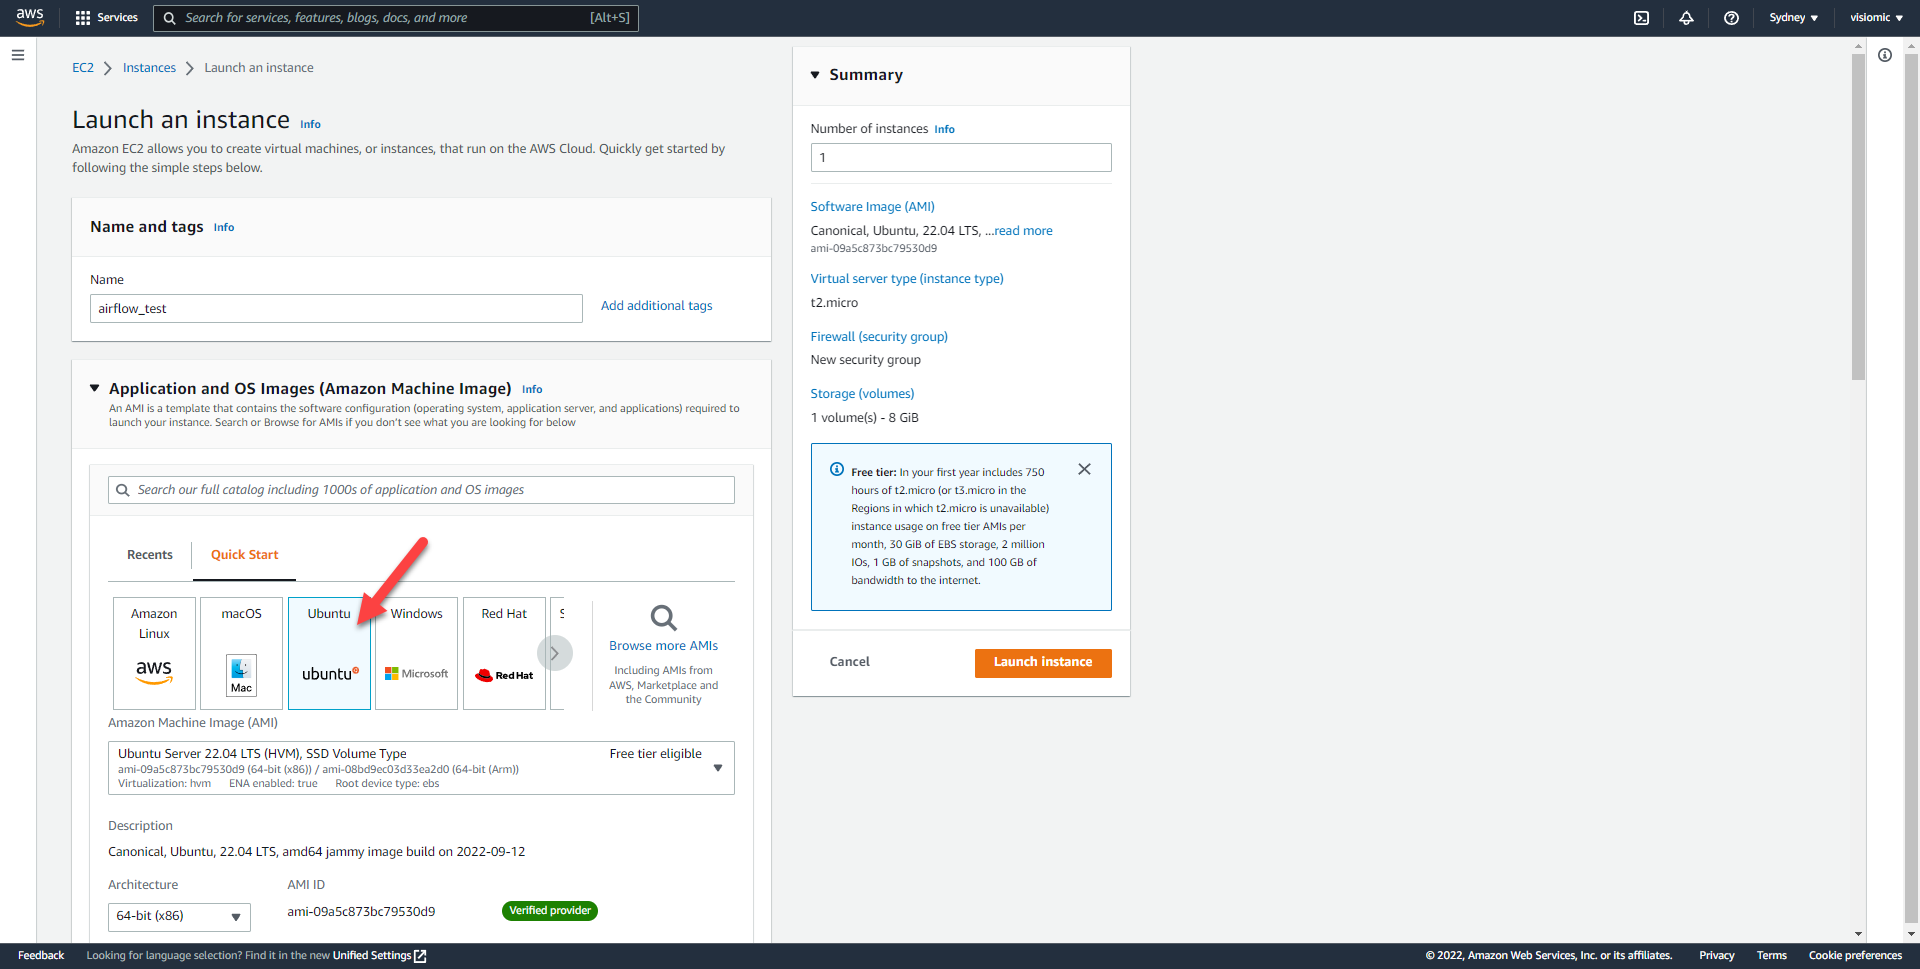
Create an EC2 Cloud Instance on Amazon Web Services
Amazon EC2 allows you to create virtual machines, or instances, that run on the AWS Cloud
In the AWS EC2 Dashboard connect to your Ubuntu Server using SSH through a Terminal/Command Prompt
Previous
Next
Install the following to your virtual environment by typing the following into terminal:
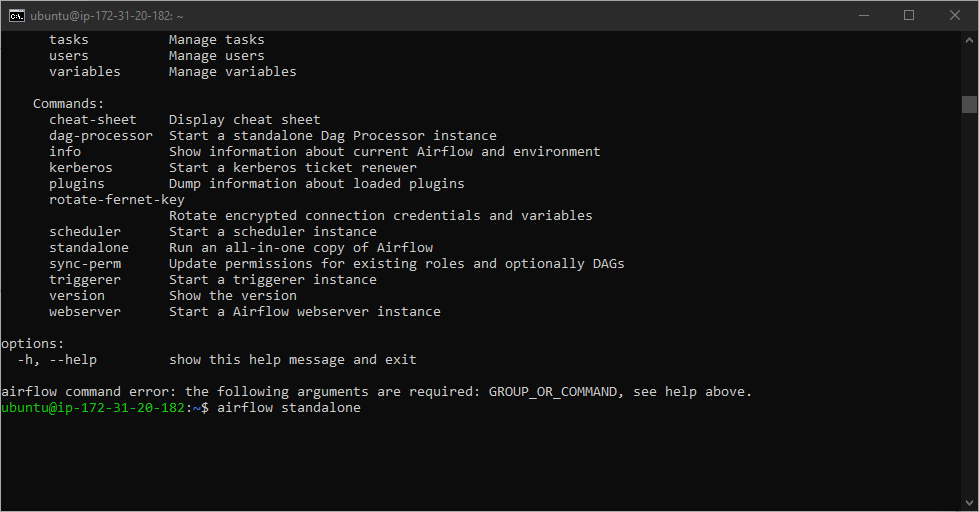
Once these modules are installed run: airflow standalone
After launching airflow, an Admin user & Password will be displayed, make sure to write this down somewhere safe
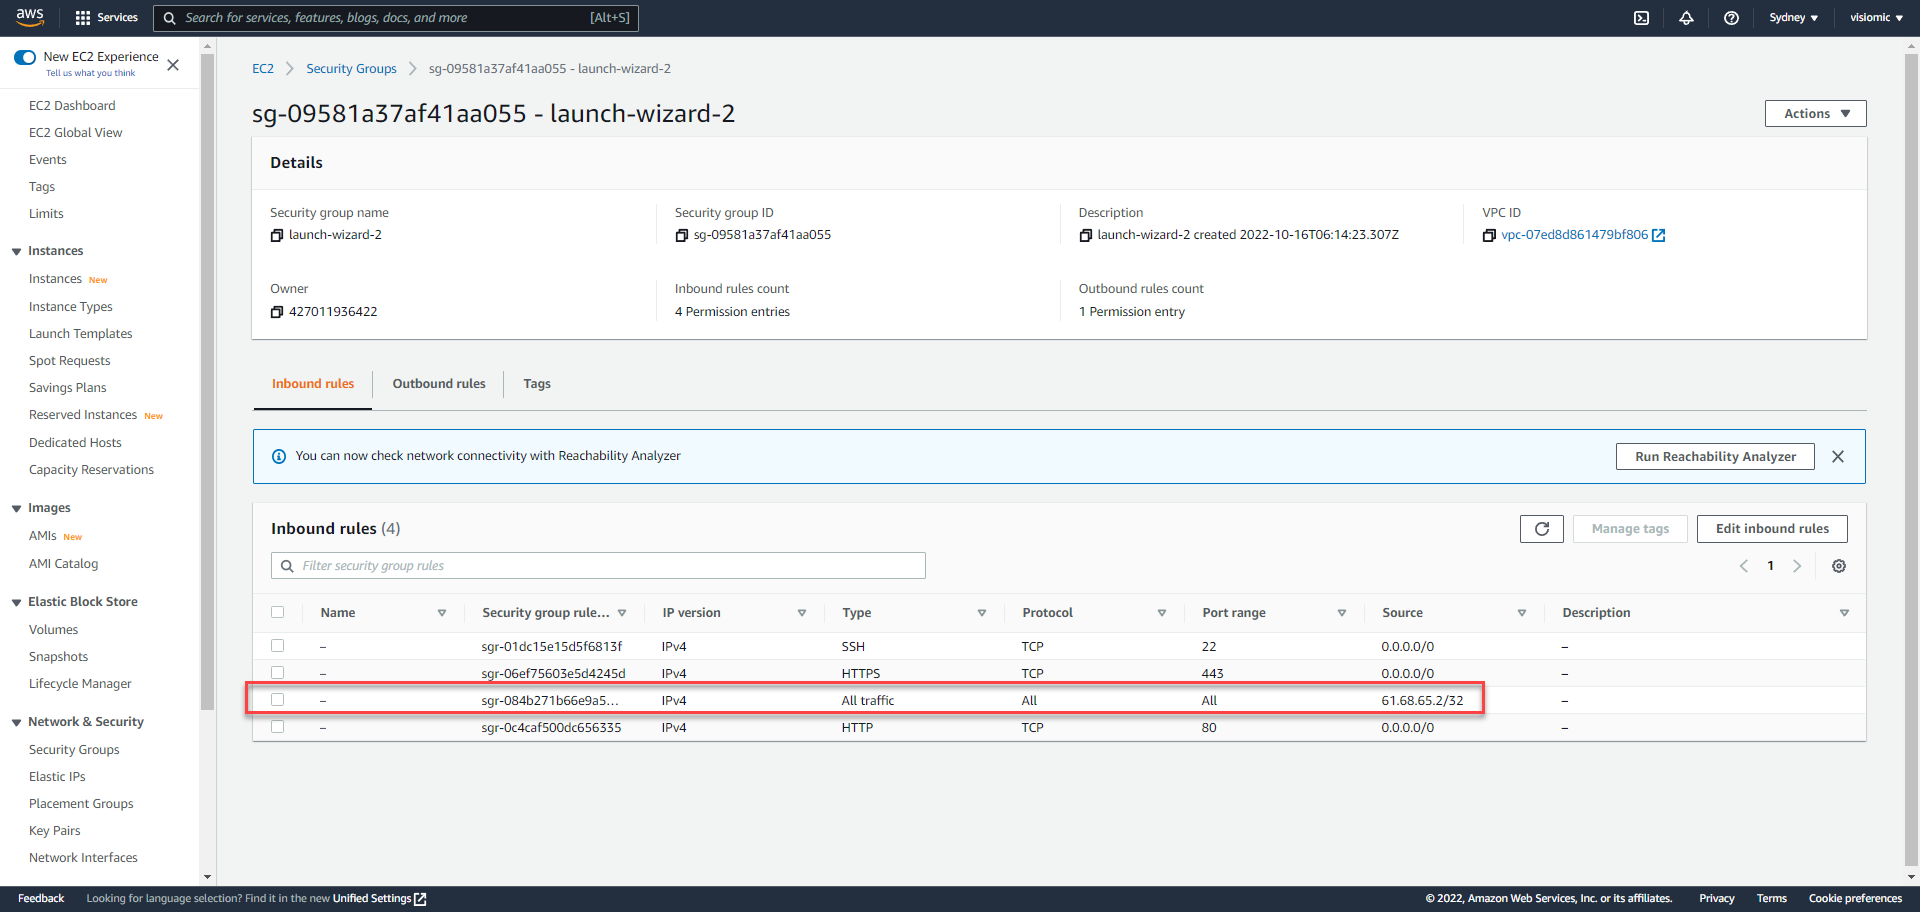
After airflow webserver is launched on port 8080 you’ll need to open port 8080 in your security groups, or open all traffic to your IP (not best practice)
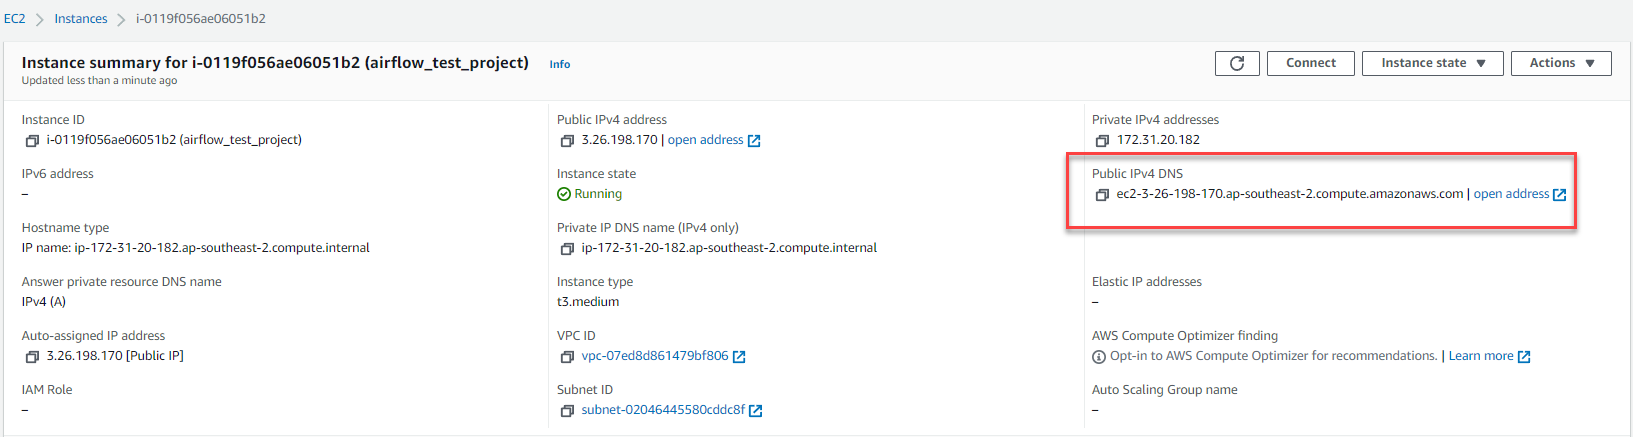
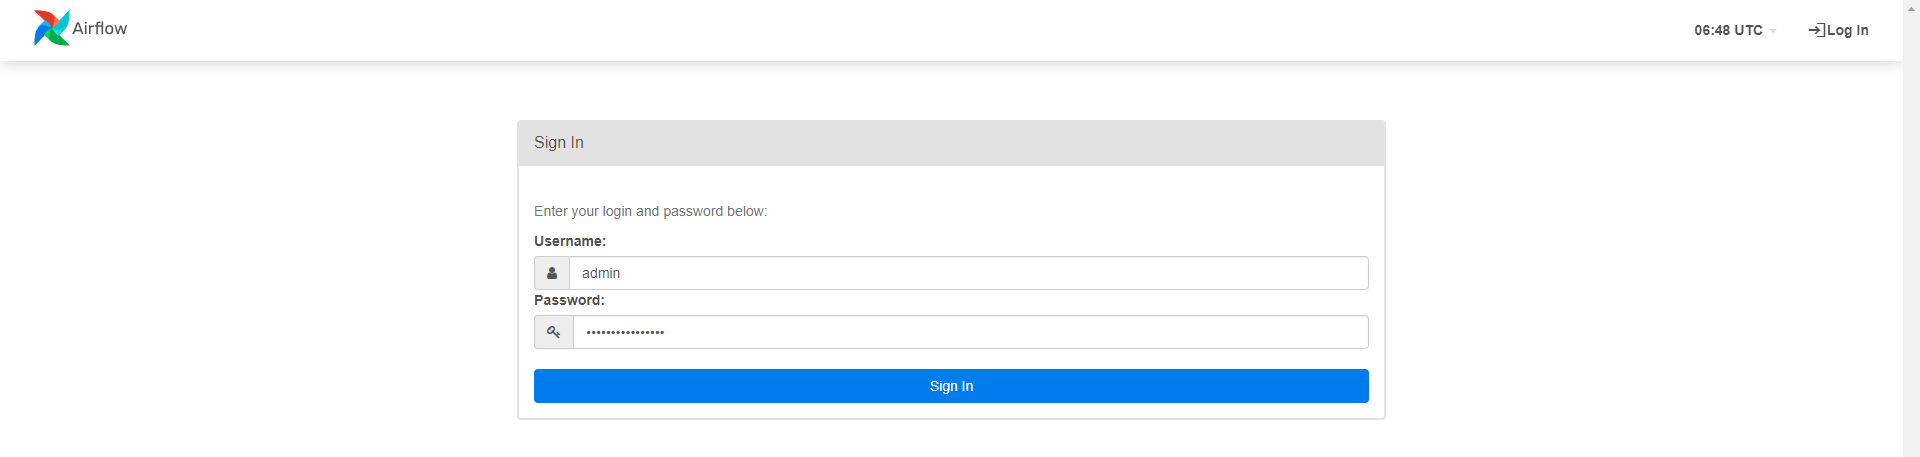
You can now login through your AWS EC2 Public IPv4 DNS through port 8080 in your browser
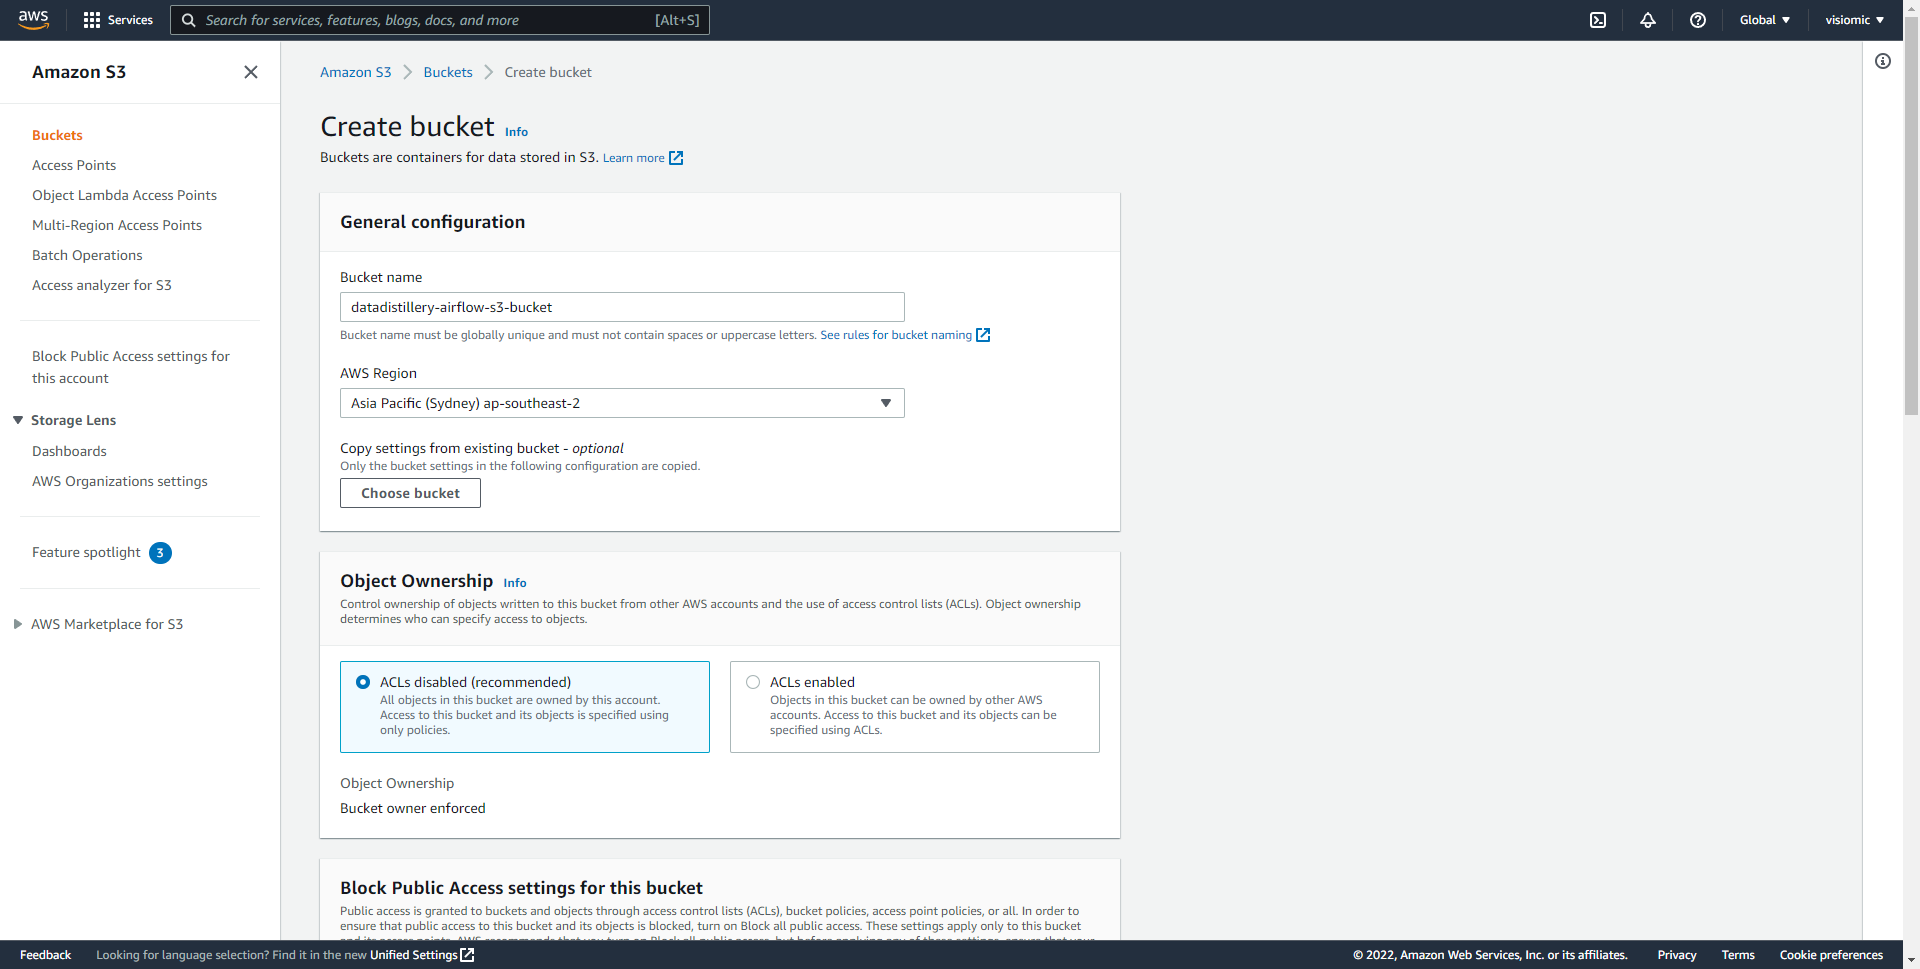
Now we can log into Airflow via any web browser hosted on Amazon Web Services and extract tweets into an Amazon S3 Storage Bucket. Firstly create a S3 Bucket then we’ll setup Airflow to run the Extract-Transform-Load onto S3
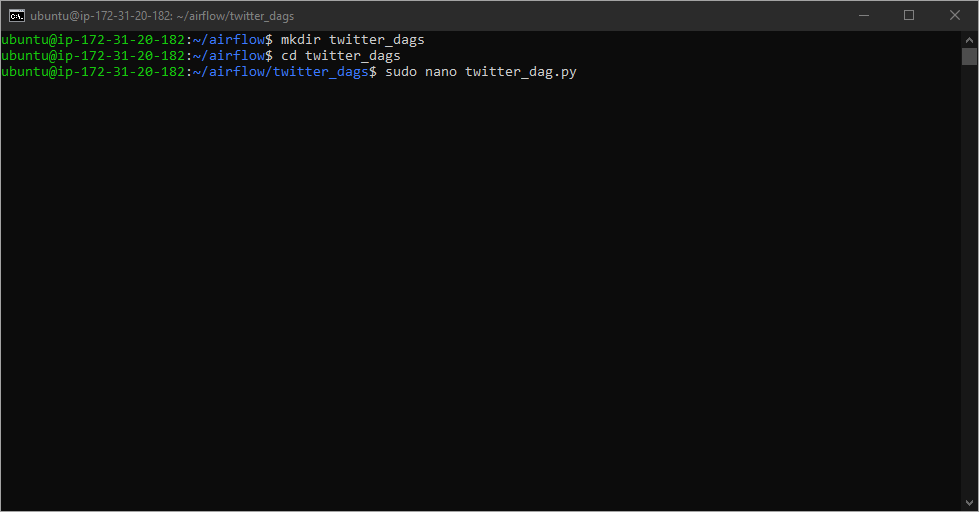
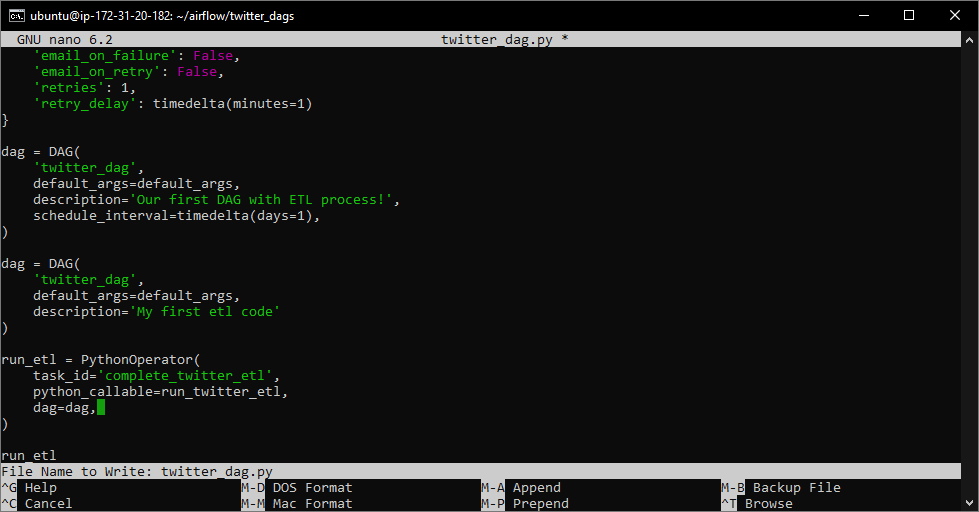
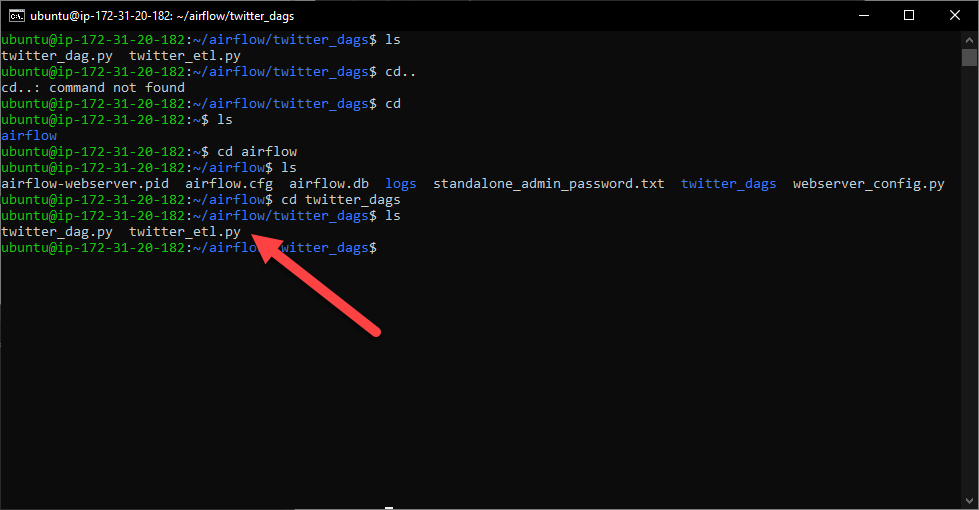
Next we’ll upload our Python code to our Ubuntu EC2 Instance using a terminal
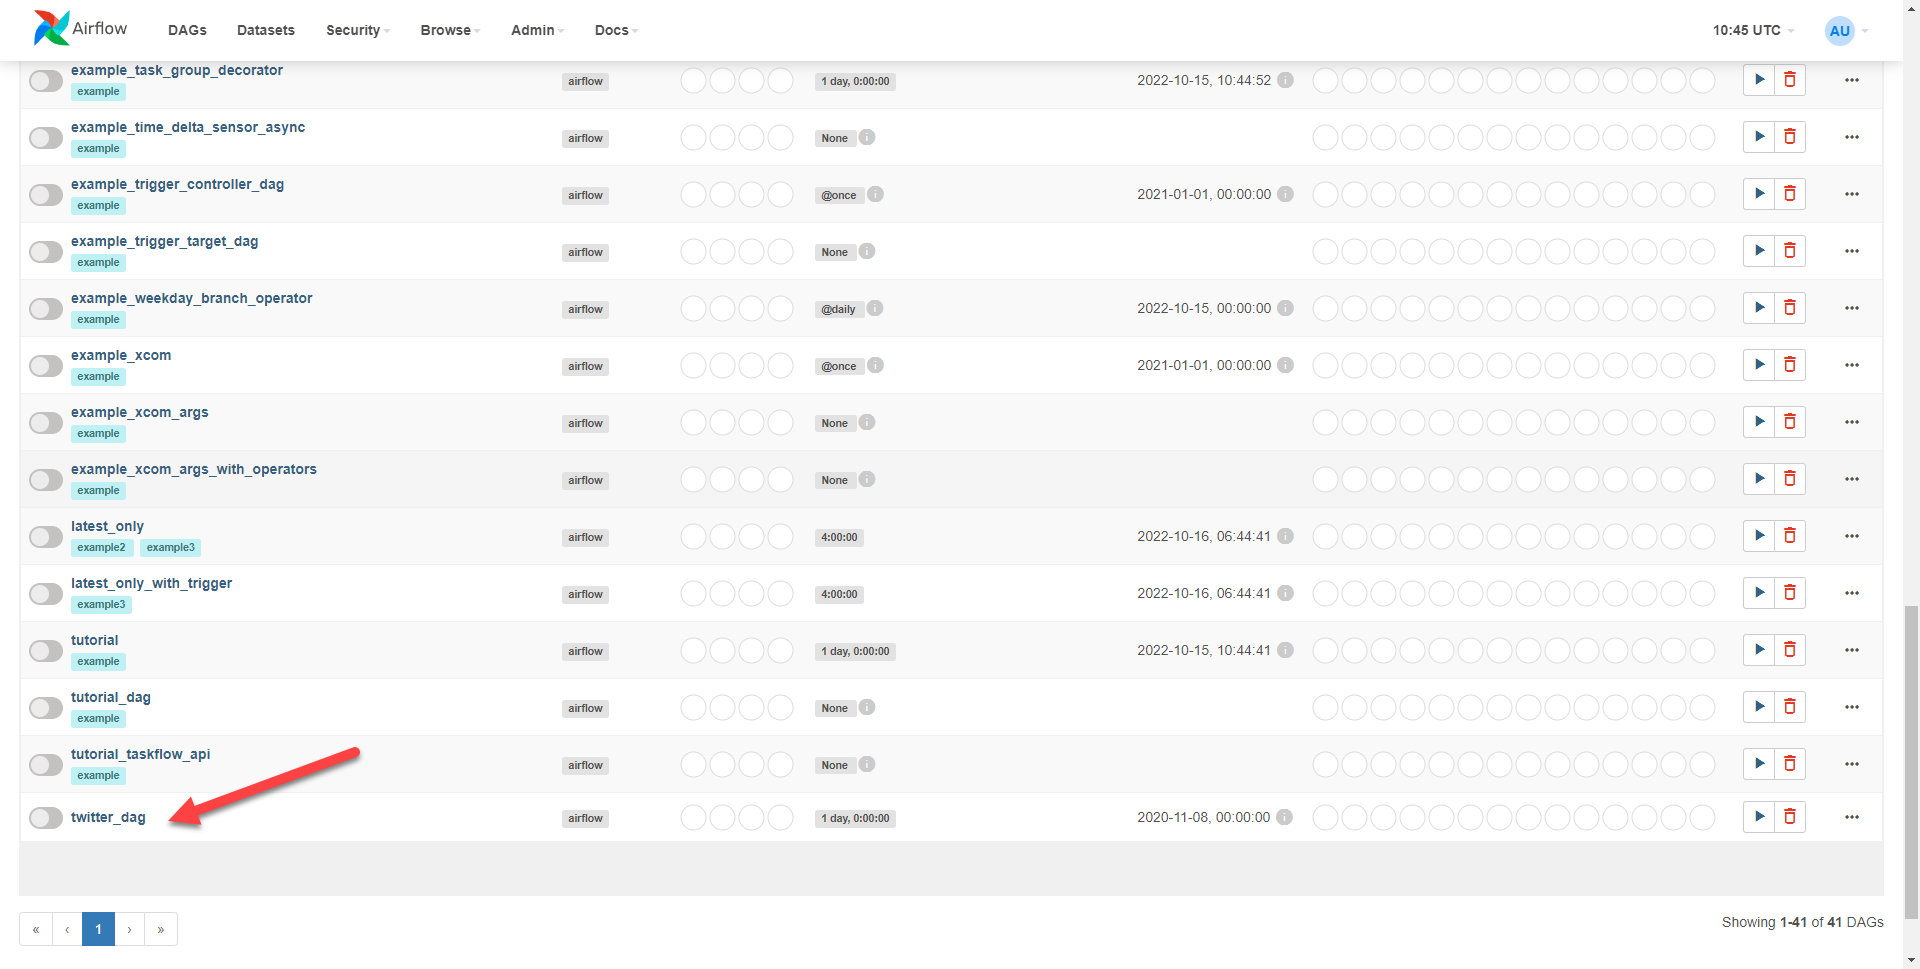
The code is now available on Airflow:
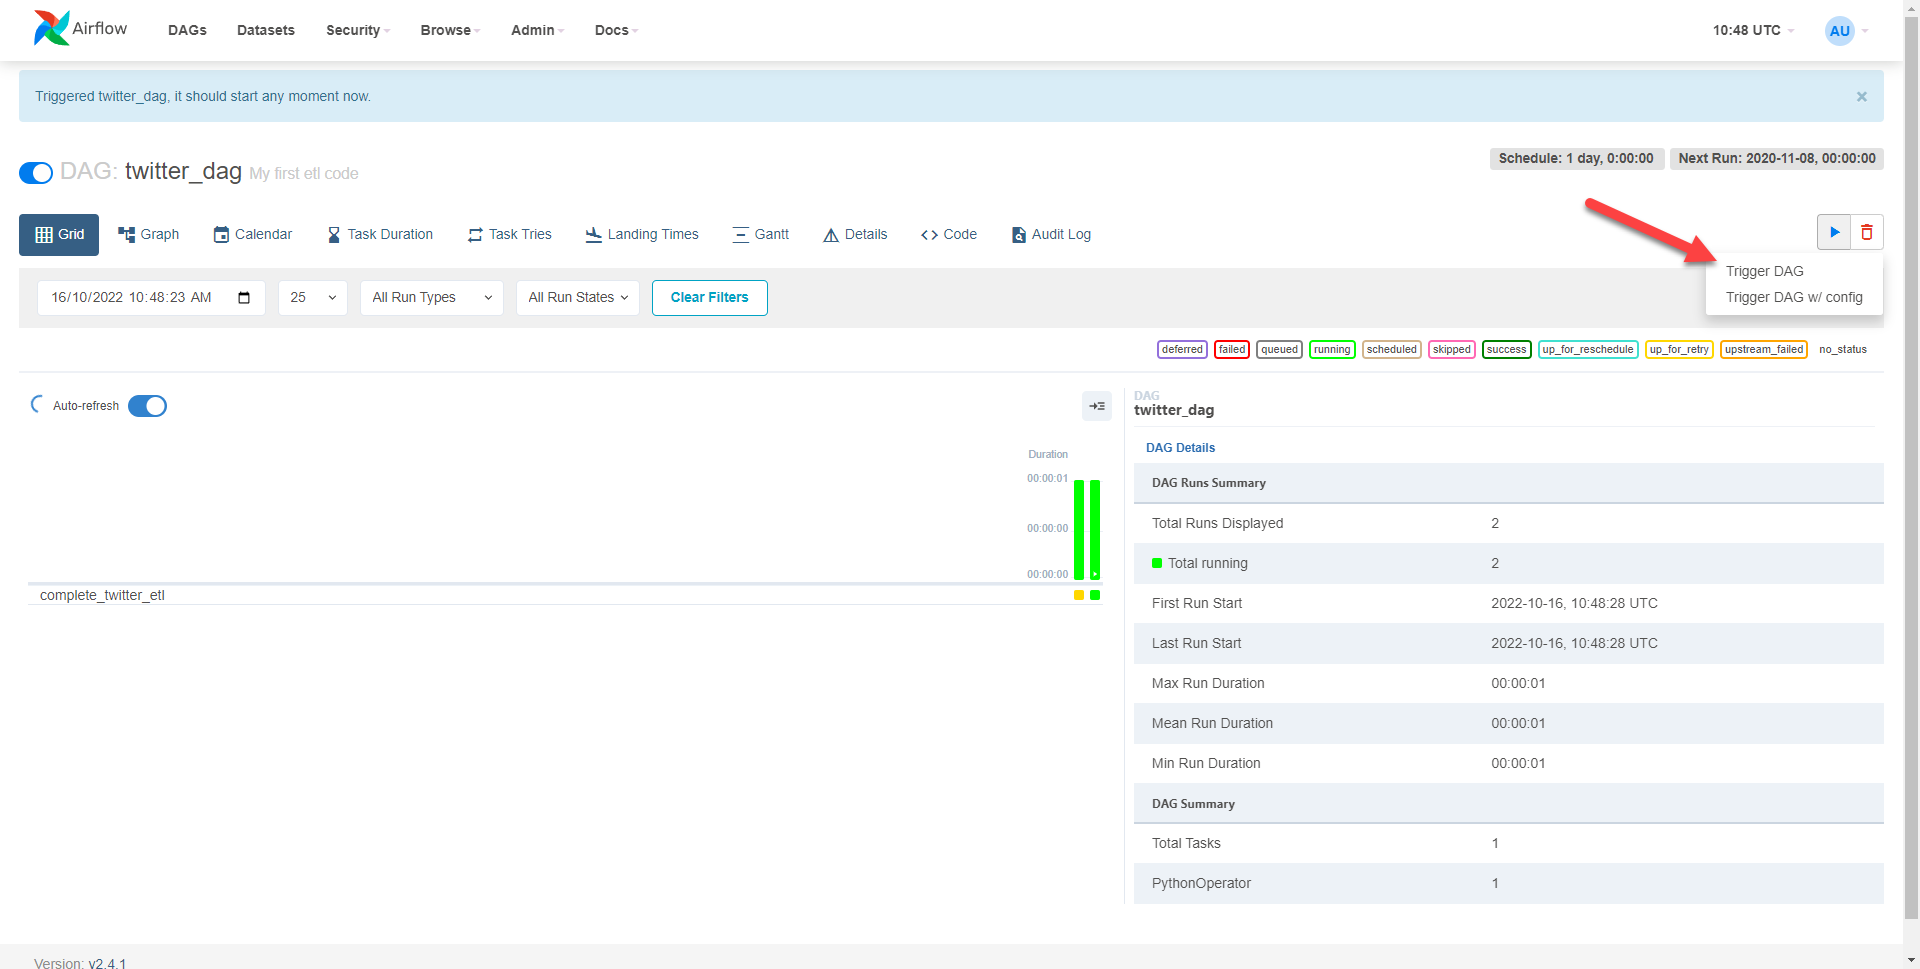
Now we can run the code by selecting trigger DAG
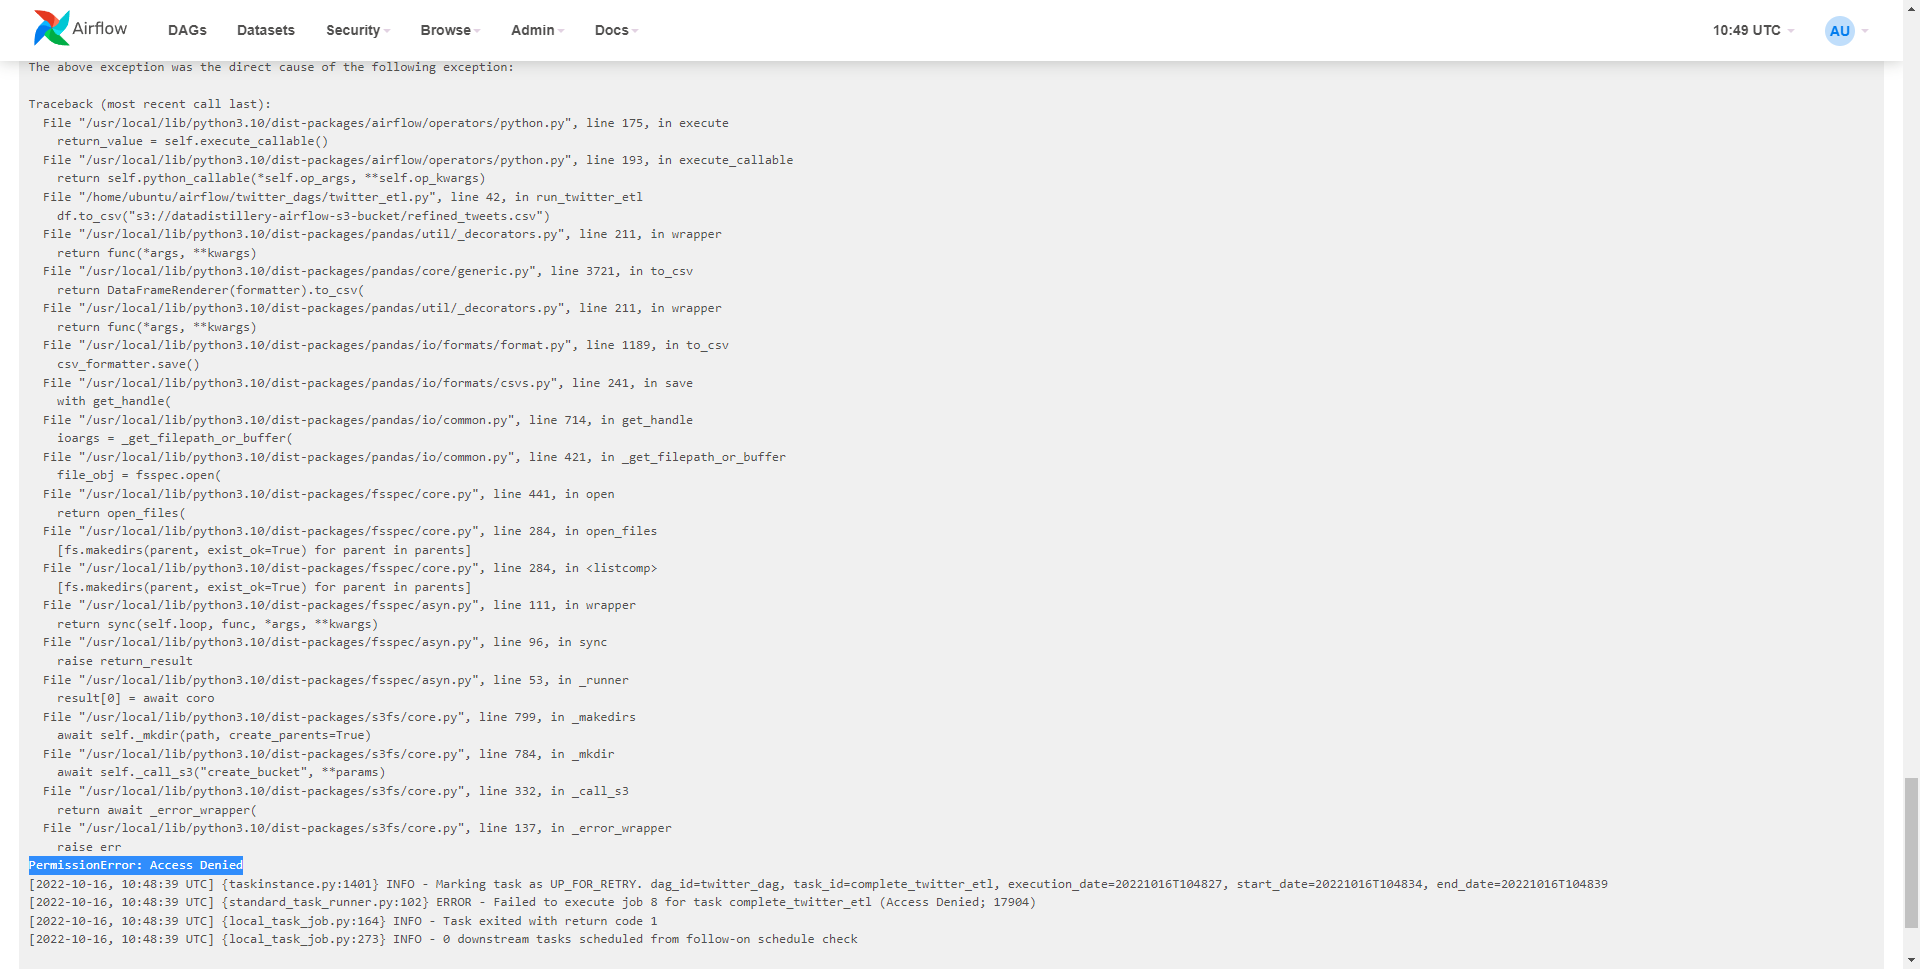
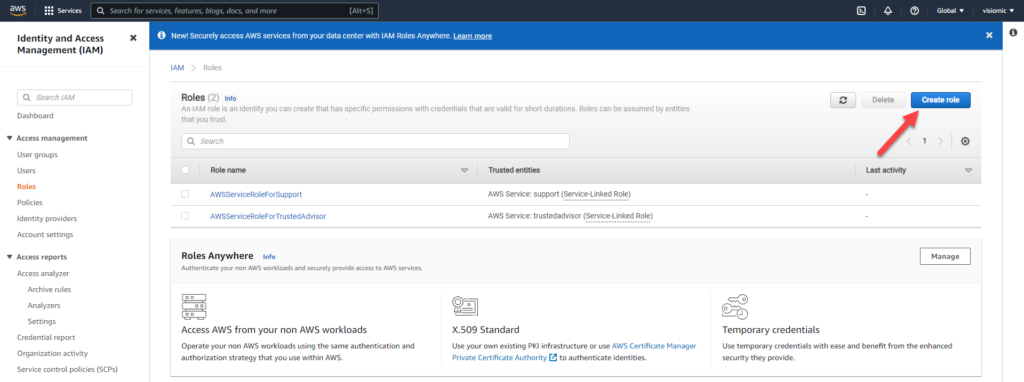
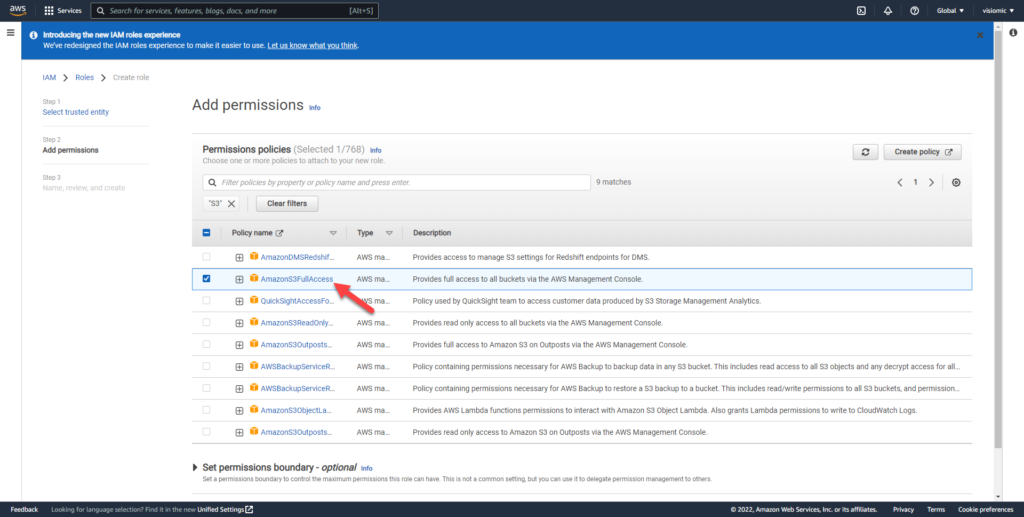
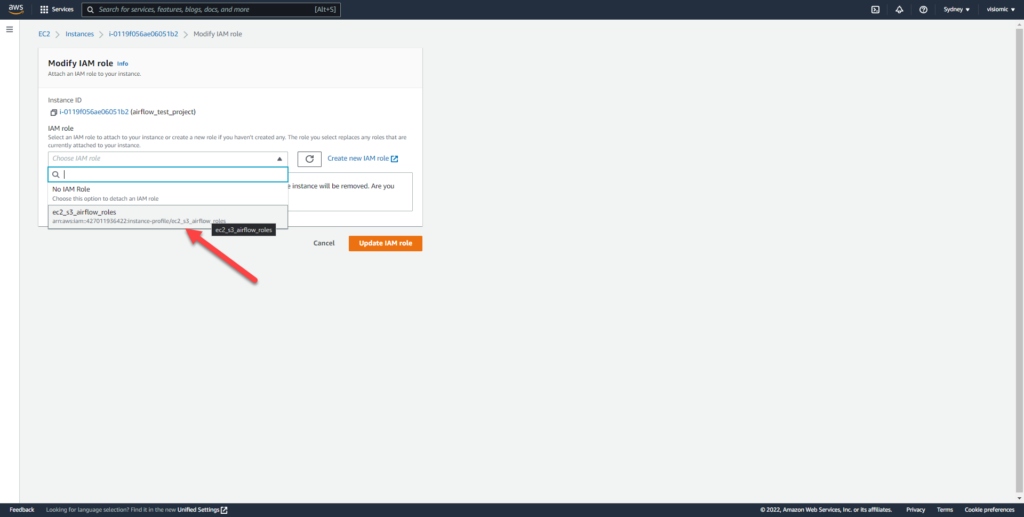
However, the operation fails so upon diagnosing the logs it says we need some extra permissions
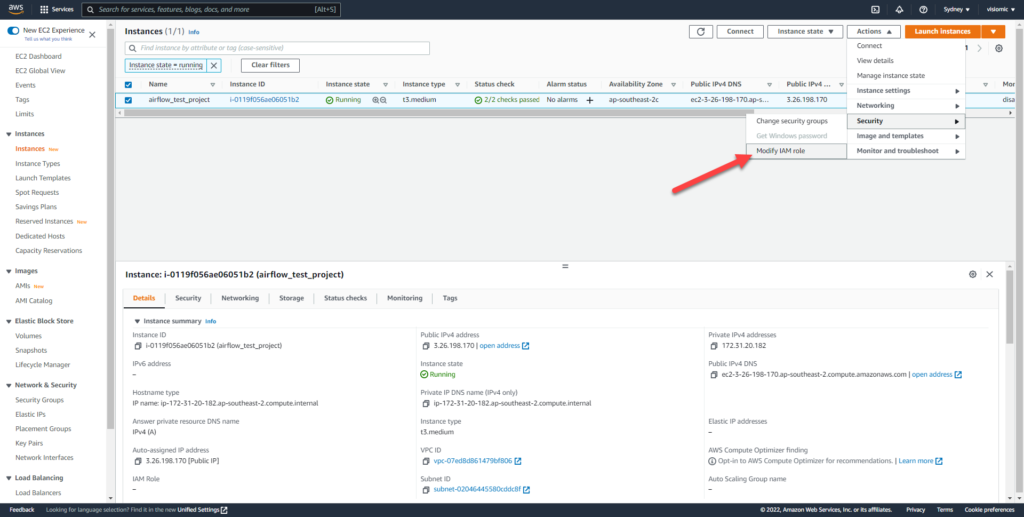
Back in your EC2 Dashboard, add an IAM role to allow full access to your S3 bucket and ec2 instance
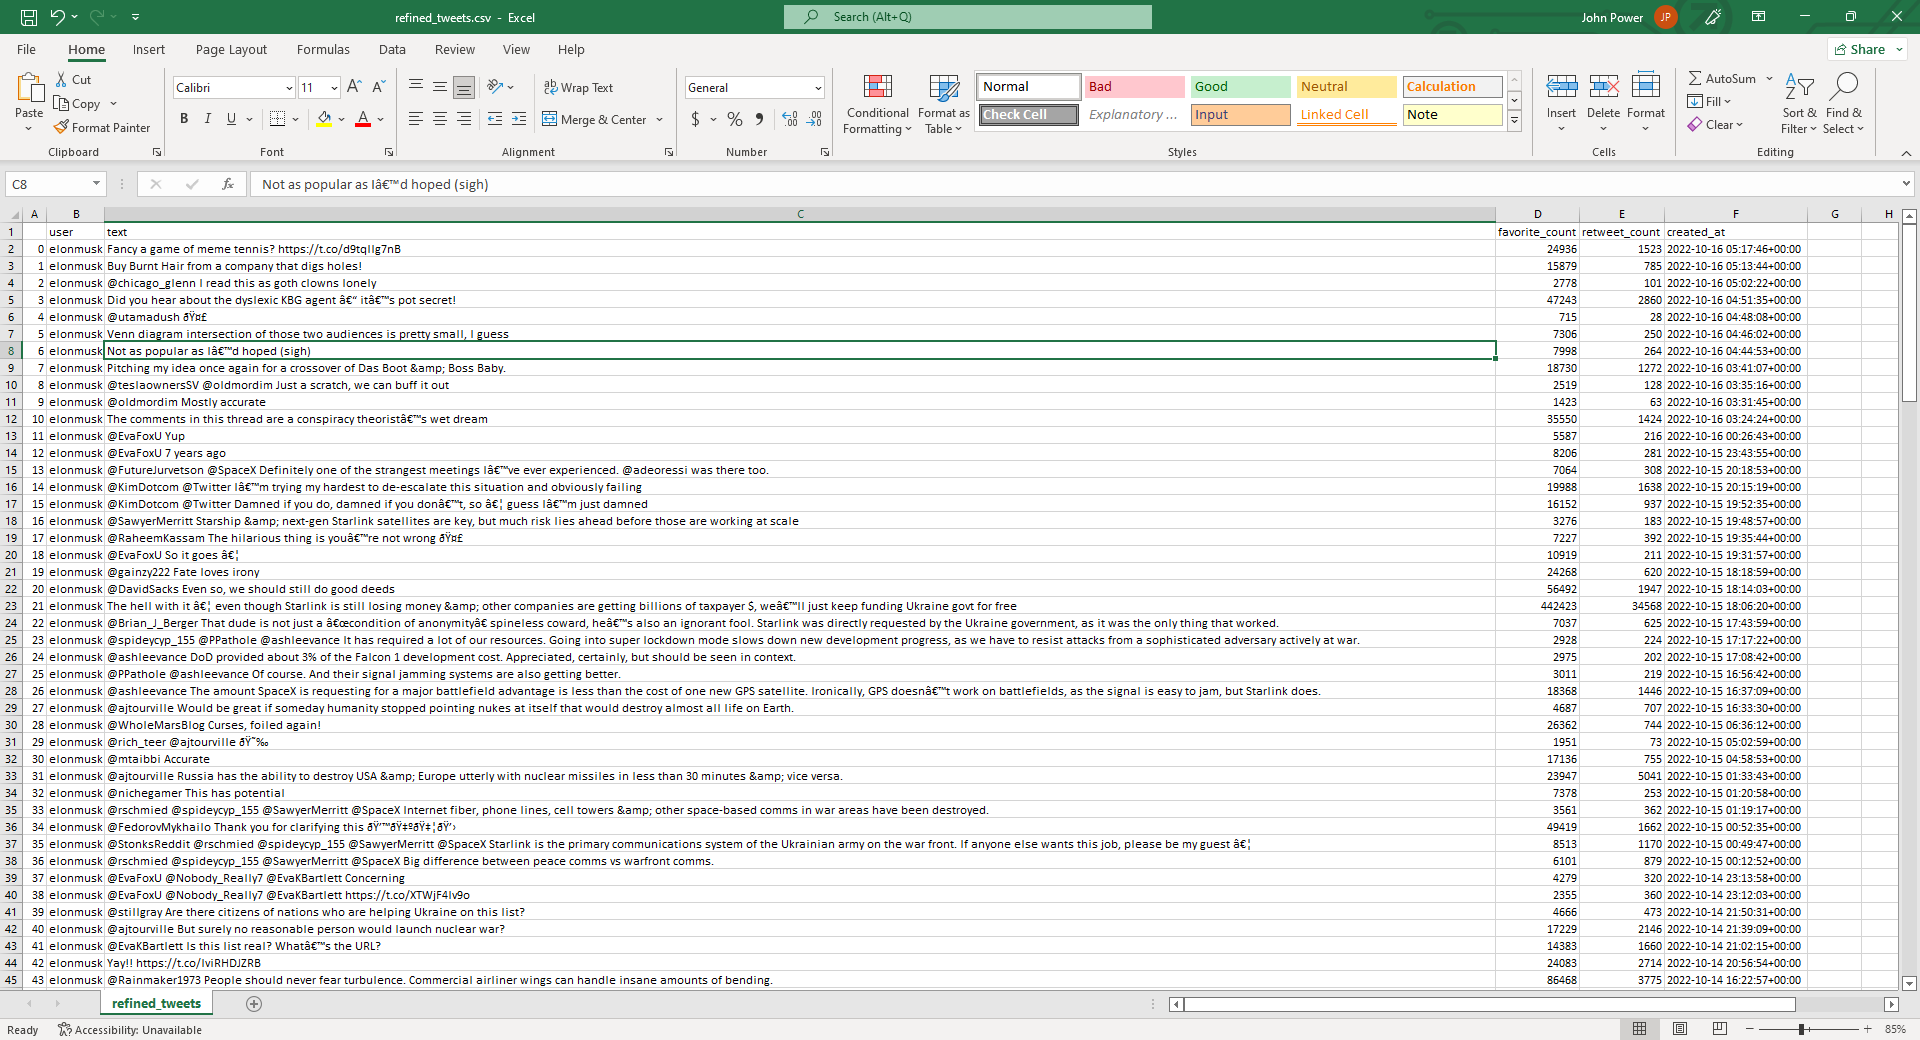
Final Result: Extract TransformLoad
The DAG’s can be run incrementally to consistently scrape the latest data from a source. Once we have this data extracted we can perform advanced analytics on the data using Python, R, PowerBI/Tableau etc. to transform it to our needs.
Closing remarks
So what is this doing and why is it important?
Let’s say you have a data source that gets updated incrementally over time. Someone will periodically have to go and gather that information, manually clean, format and process it in excel then save it to a location others can access.
What this workflow does is automate the process. It connects to a data source via API/Web Scraping, cleans and extracts the specific parameters and arguments we’re after in python then automatically syncs it to our data lake which can be seen single source of truth for the right person to get the right data at the right time.
This was a very basic example for demonstration purposes, but implementing a pipeline like this can save loads of time.